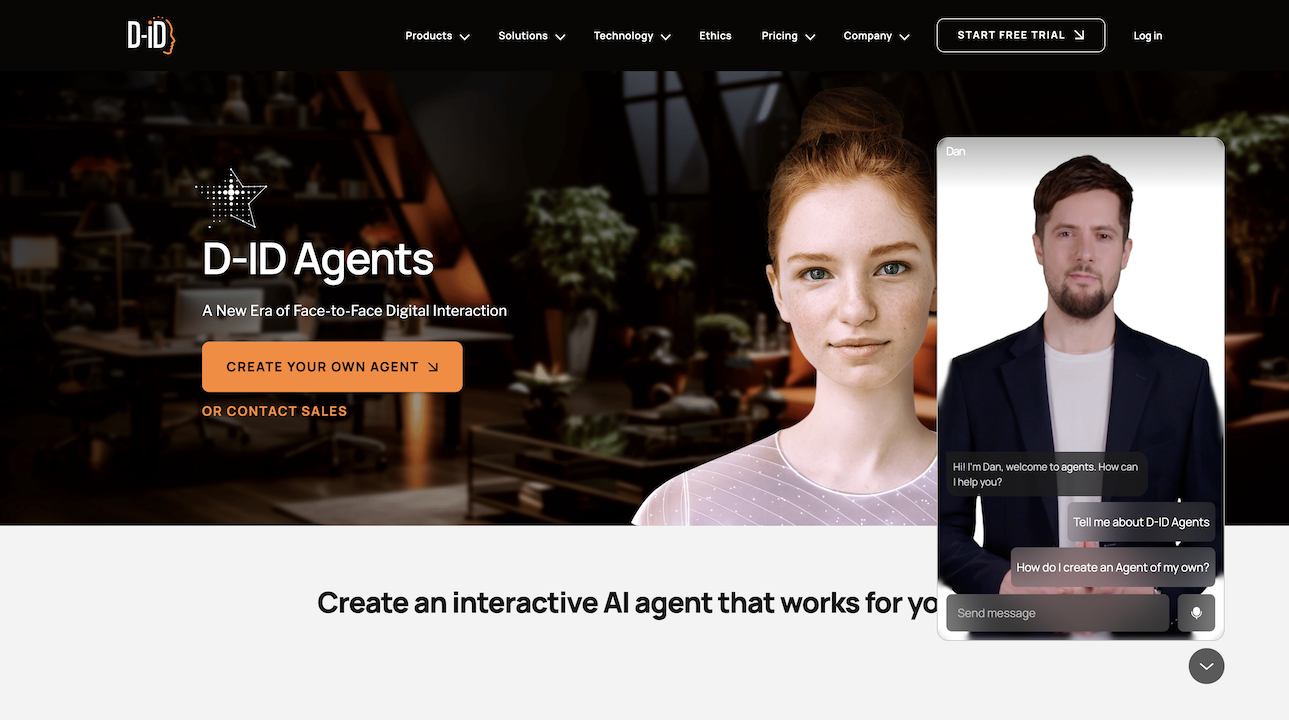
What are Agents

By blending the smarts of advanced language models with the warmth of face-to-face communication, D-ID Agents redefine digital connections, making them more personal, engaging, and human. All you have to do is select your Agent’s appearance, choose its voice, describe how you want it to interact, and provide it with documents to augment and personalize its knowledge base. You’ll have a digital person you can speak with in minutes, just like a real human.
See a Working Example
Converse with real AI Agents
 Live Agent embedded on D-ID's websiteMake a live conversation with a real AI Agent on D-ID's website, ask related questions, and be inspired by its relevant knowledge, quality, latency, and the potential it could benefit your users in your platform. Check it out now!
Create an Agent
To create a new Agent, make a POST request to Create an Agent endpoint. In this endpoint, you will define the Agent's name, voice, type, and instructions. instructions = the LLM's "how-to-behave" system prompt. The presentertype can be one of the following:
- Available on select plans only that include premium presenters. Code example:
POST https://api.d-id.com/agents | Create an Agent
{
  "presenter": {
    "type": "talk",
    "voice": {
      "type": "microsoft",
      "voice_id": "en-US-JennyMultilingualV2Neural"
    },
    "thumbnail": "https://create-images-results.d-id.com/DefaultPresenters/Zivva_f/thumbnail.jpeg",
    "source_url": "https://create-images-results.d-id.com/DefaultPresenters/Zivva_f/thumbnail.jpeg"
  },
  "llm": {
    "type": "openai",
    "provider": "openai",
    "model": "gpt-3.5-turbo",
    "instructions": "You are Scarlett, an AI designed to assist with information about Louvre"
  },
  "preview_name": "Scarlett"
}
{
"created": "2024-02-22T11:26:35.600Z",
"preview_name": "Scarlett",
"created_by": "google-oauth2|1004592475295613957286",
"status": "created",
"access": "unlisted",
"llm": {
"instructions": "You are Scarlett, an AI designed to assist with information about Louvre in Paris.",
"model": "gpt-3.5-turbo",
"type": "openai",
"provider": "openai"
},
"modified": "2024-02-22T11:26:35.600Z",
"presenter": {
"voice": {
"type": "microsoft",
"voice_id": "en-US-JennyMultilingualV2Neural"
},
"thumbnail": "https://create-images-results.d-id.com/DefaultPresenters/Zivva_f/thumbnail.jpeg",
"type": "talk",
"source_url": "https://create-images-results.d-id.com/DefaultPresenters/Zivva_f/thumbnail.jpeg"
},
"id": "agt_j46fhSab",
"owner_id": "google-oauth2|1004592475295613957286"
}{
"presenter": {
"type": "clip",
"voice": {
"type": "microsoft",
"voice_id": "en-US-JennyMultilingualV2Neural"
},
"presenter_id": "amy-FLZ1USJl7m",
"thumbnail": "https://clips-presenters.d-id.com/amy/Aq6OmGZnMt/Vcq0R4a8F0/image.png"
},
"llm": {
"type": "openai",
"provider": "openai",
"model": "gpt-3.5-turbo",
"instructions": "You are Amy, an AI designed to assist with information about D-ID Agents."
},
"preview_name": "Amy"
}{
"created": "2024-02-29T14: 33: 45.910Z",
"preview_name": "Amy",
"created_by": "google-oauth2|1004592475295613957286",
"status": "created",
"access": "unlisted",
"llm": {
"instructions": "You are Amy, an AI designed to assist with information about D-ID Agents.",
"model": "gpt-3.5-turbo",
"type": "openai",
"provider": "openai"
},
"modified": "2024-02-29T14: 33: 45.910Z",
"presenter": {
"voice": {
"type": "microsoft",
"voice_id": "en-US-JennyMultilingualV2Neural"
},
"presenter_id": "amy-FLZ1USJl7m",
"thumbnail": "https: //clips-presenters.d-id.com/amy/Aq6OmGZnMt/Vcq0R4a8F0/image.png",
"type": "clip"
},
"id": "agt_Dbv7WvxB",
"owner_id": "google-oauth2|1004592475295613957286"
}Once an Agent is created, it appears in your Studio account. You can also utilize the Get Agents endpoint (to get a list of all your Agents), or Get an Agent (to see only a specific one, by agent id)
Bind Agent with a Knowledge Base
This is the time to power up your Agent with your own knowledge base (RAG)! Follow the Knowledge Overview page to create a new knowledge base and bind it to your Agent. After creating a knowledge base with documents in it, and once the knowledge base status is done, use your knowledgeId and include it in the following PATCH request to Update an Agent. Code example:
PATCH https://api.d-id.com/agents/{agentId}/ | Update an Agent
{
  "knowledge": {
    "id": "knl_91YI41kahrS8vhdRz8"
  }
}
{
chats: 1,
created: '2024-02-22T10:09:03.590Z',
preview_name: 'Scarlett',
created_by: 'google-oauth2|1004592475295613957286',
status: 'done',
access: 'unlisted',
score: 1,
llm: {
instructions: "You are Scarlett, an AI designed to assist with information about Louvre",
model: 'gpt-3.5-turbo',
type: 'openai',
provider: 'openai'
},
modified: '2024-02-22T10:10:49.848Z',
presenter: {
voice: { type: 'microsoft', voice_id: 'en-US-JennyMultilingualV2Neural' },
thumbnail: 'SOME_URL',
idle_video: 'SOME_URL',
type: 'talk',
source_url: 'SOME_URL'
},
knowledge: { provider: 'pinecone', id: 'knl_91YI41kahrS8vhdRz8' },
id: 'agt_j46fhSab',
owner_id: 'google-oauth2|1004592475295613957286'
}
The knowledge base is now linked to your Agent!
Implement your Created Agent
Now you can utilize the Agents SDK (Recommended) or the Agents Streams API to fully implement your created Agent in your application!
Support
Have any questions? We're here to help! Go to the Help Center or send us a message.
Contact Support